How to Create Fisheye Menu
How to Create Fisheye Menu
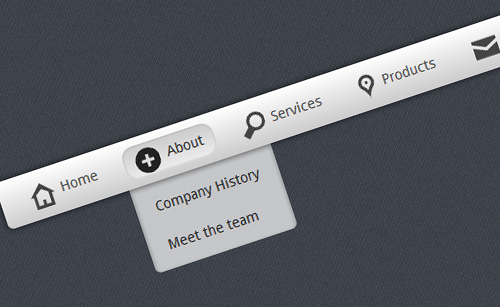
If you have ever used the operating system Windows Vista, or Macintosh, I think you will know about dock menu or the menu in the form of icons that have beautiful moving animations.
To view the demo, please visit seethedemo.blogspot.com/2009/06/02.html
The following are the ways to create dock menu:
Step-1
Upload the images or icons that you want to place in the dock menu to your image hosting. As the examples, I have uploaded the icons to http://tinypic.com.
Record the URLs of the icons that you get from tinypic. Below are the examples:
http://i41.tinypic.com/15n253b.png (image 1)
http://i41.tinypic.com/2vwckzp.png (image 2)
http://i44.tinypic.com/j8nsj4.png (image 3)
http://i42.tinypic.com/aeb4hh.png (image 4)
http://i42.tinypic.com/4khd2p.png (image 5)
Determine the URLs that you want to place as the menu. E.g. :
Image 1, I define for the URL http://template-tutorial.com
Image 2, I define for the URL: http://template-tutorial.com/search/label/Blogger%20Templates
Image 3, I define for the URL: http://template-tutorial.com/search/label/Wordpress%20Themes
Image 4, I define for the URL: http://template-tutorial.com/search/label/Tutorial
Image 5, I define for the URL: http://blog-tutor-net.blogspot.com
Step-2
Login to blogger with your ID
Click Layout
Click Edit Html
Click Download Full Template to backup the template first.
Add the JavaScript code below between the code, If you are confused, just place above the code


